If you’re a Windows enterprise, or you want to run your 18c database on your Windows laptop/desktop for research and education, then there has been some good news this week. The software is now available to you on the OTN network page. Here’s a walk through of the software installation process
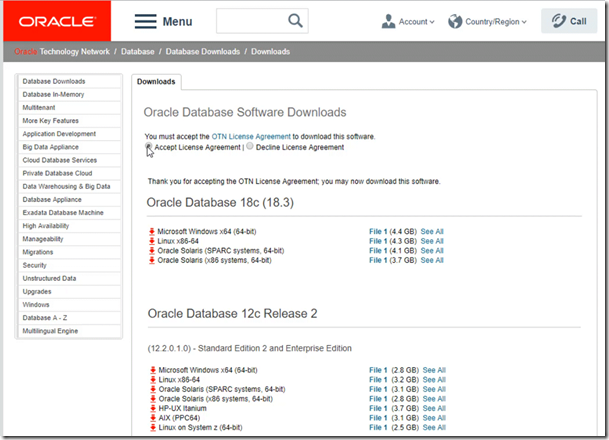
Head to the standard database downloads page
http://www.oracle.com/technetwork/database/enterprise-edition/downloads/index.html
Accept the license agreement and choose the Windows version to download
Note – if you want to see all of the various Windows 18c components (grid, client, examples, etc), you can get that here
Once you have downloaded the software, note that when you unzip it, you are unzipping it directly into place, not into a staging area. So unzip to a folder that you intend to be your ORACLE_HOME location.
Once the unzip has been completed, in the base directory where you unzipped the files, there will be a setup.exe file. Double click on that to launch the installer
The familiar java based software installer will appear. For this blog post, I opted to solely go with software configuration – I’ll cover database creation in a separate post.
For my use, I’m just using a home laptop, so single instance for me. If you do want RAC, you’ll be needing to download more components anyway (eg Grid)
You’ll then get the standard pre-installation checks on your machine. For reference, the machine I’m installing the software on – its a 32G RAM machine on Windows 10, and I did not get any warnings.
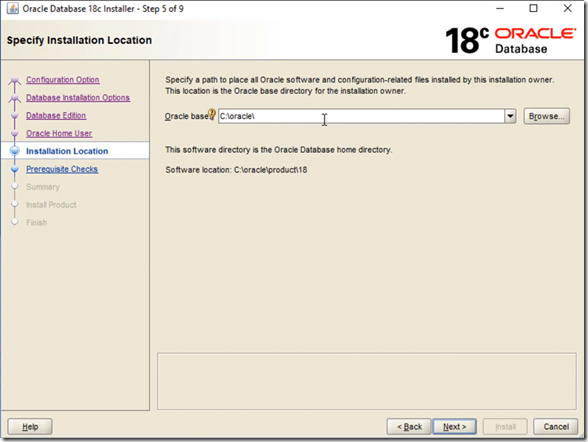
I nominated my existing ORACLE_BASE location as the target for this ORACLE_HOME as well
and went with the default option of using a virtual Windows account to own the software:
Note: The first time I did this install, I went with the Windows Built-In account because I had an old 11g database installation under the same ORACLE_BASE, and I thought at least it would be consistent. Whilst the installation and subsequent use of 18c worked fine, and my 11g instance was fine, it totally hosed by 12c installation which was also under the same ORACLE_BASE. The 12c installation had been done with the default virtual account, and it appears the subsequent addition of 18c using the built-in Windows SYSTEM account reset the permissions on the critial diagnostic directory paths. From that point on, my 12c installation could not start and got “permission denied” errors when trying to access various destinations.
So my advice would be – adopt a consistent approach for any software under a common ORACLE_BASE.
Next you choose the edition you want to install. Enterprise for me naturally ![]()
And then you are ready to install. Just hit the Install button, sit back and relax.
You will see the familiar progress dialog box, and like all progress boxes from any vendor, the percentage complete will typically have no true bearing on how long the process will take ![]() For the record, my installation took around 8-10mins at this stage, most of it configuring the central inventory.
For the record, my installation took around 8-10mins at this stage, most of it configuring the central inventory.
All things going well, you finally get the confirmation screen, and voila! You’re 18c database software is installed!
Here’s an (accelerated) video showing the above steps as they were performed on my machine.
Enjoy 18c on Windows!


Got some thoughts? Leave a comment